
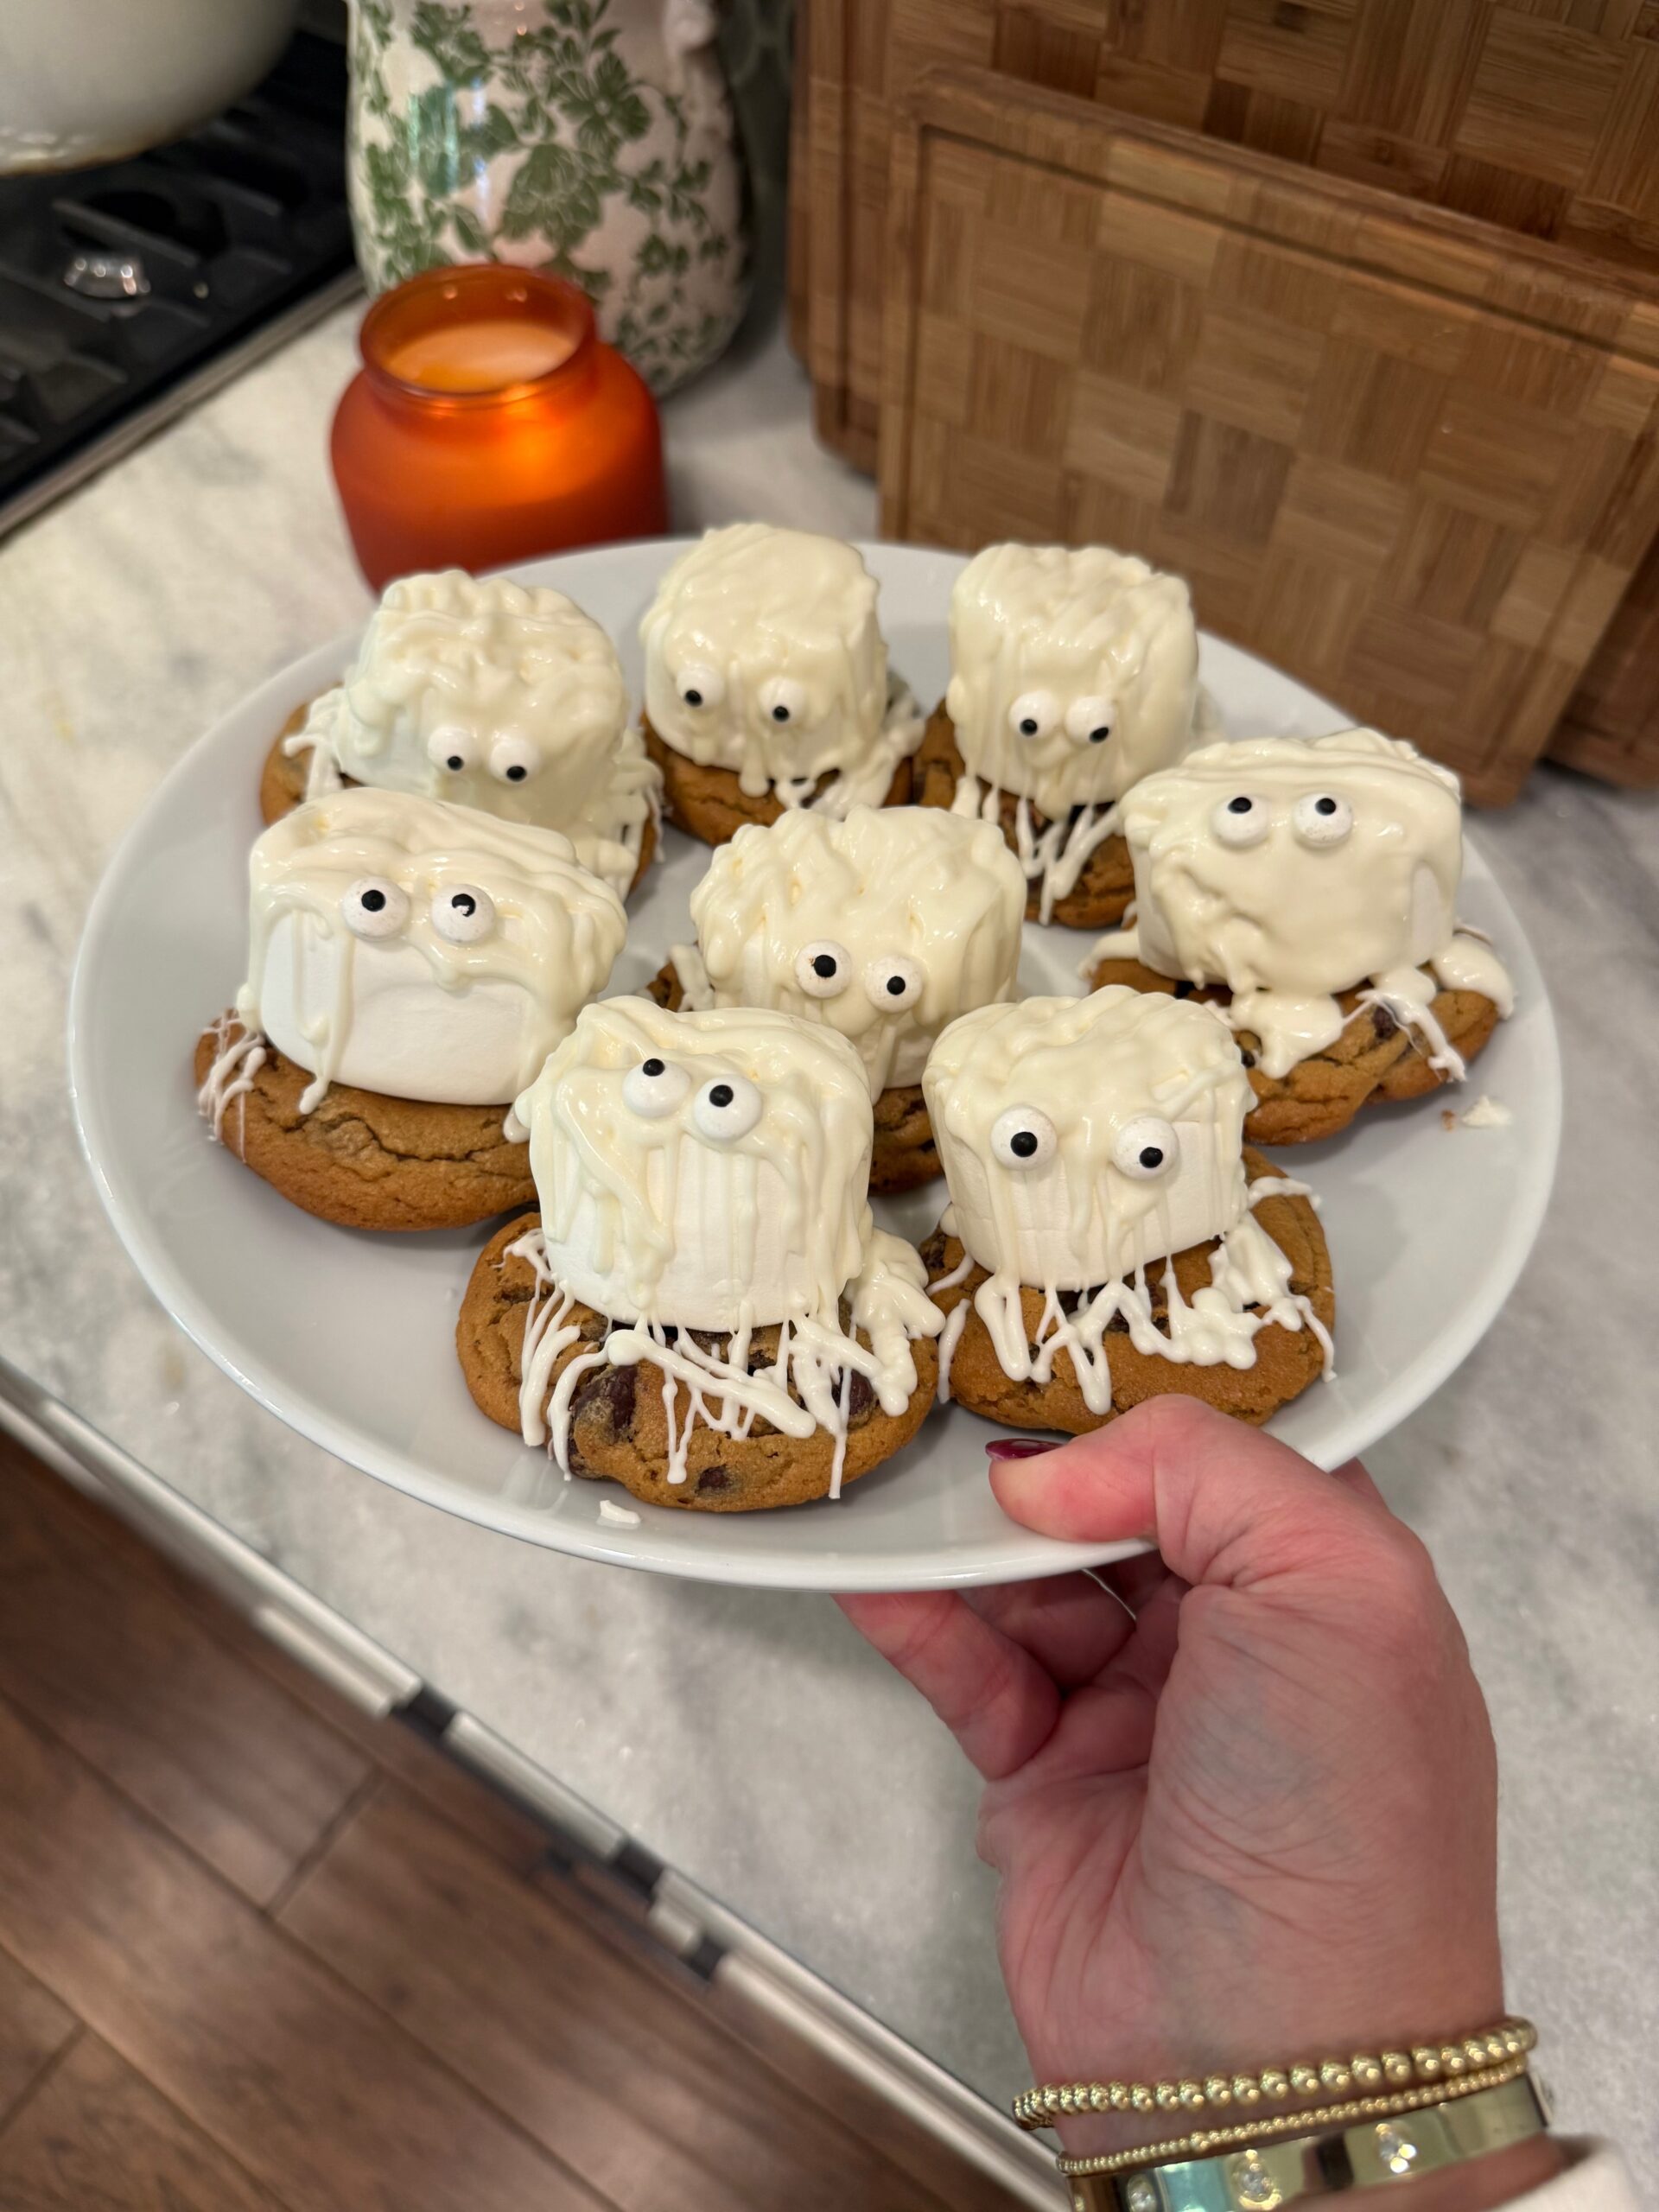
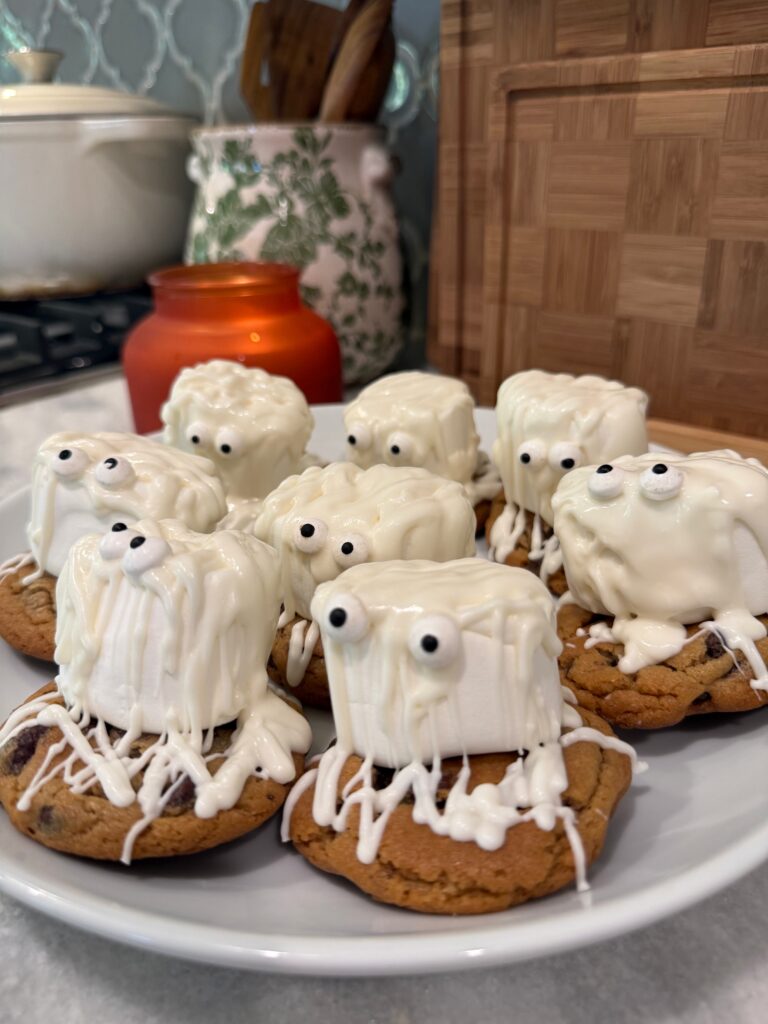
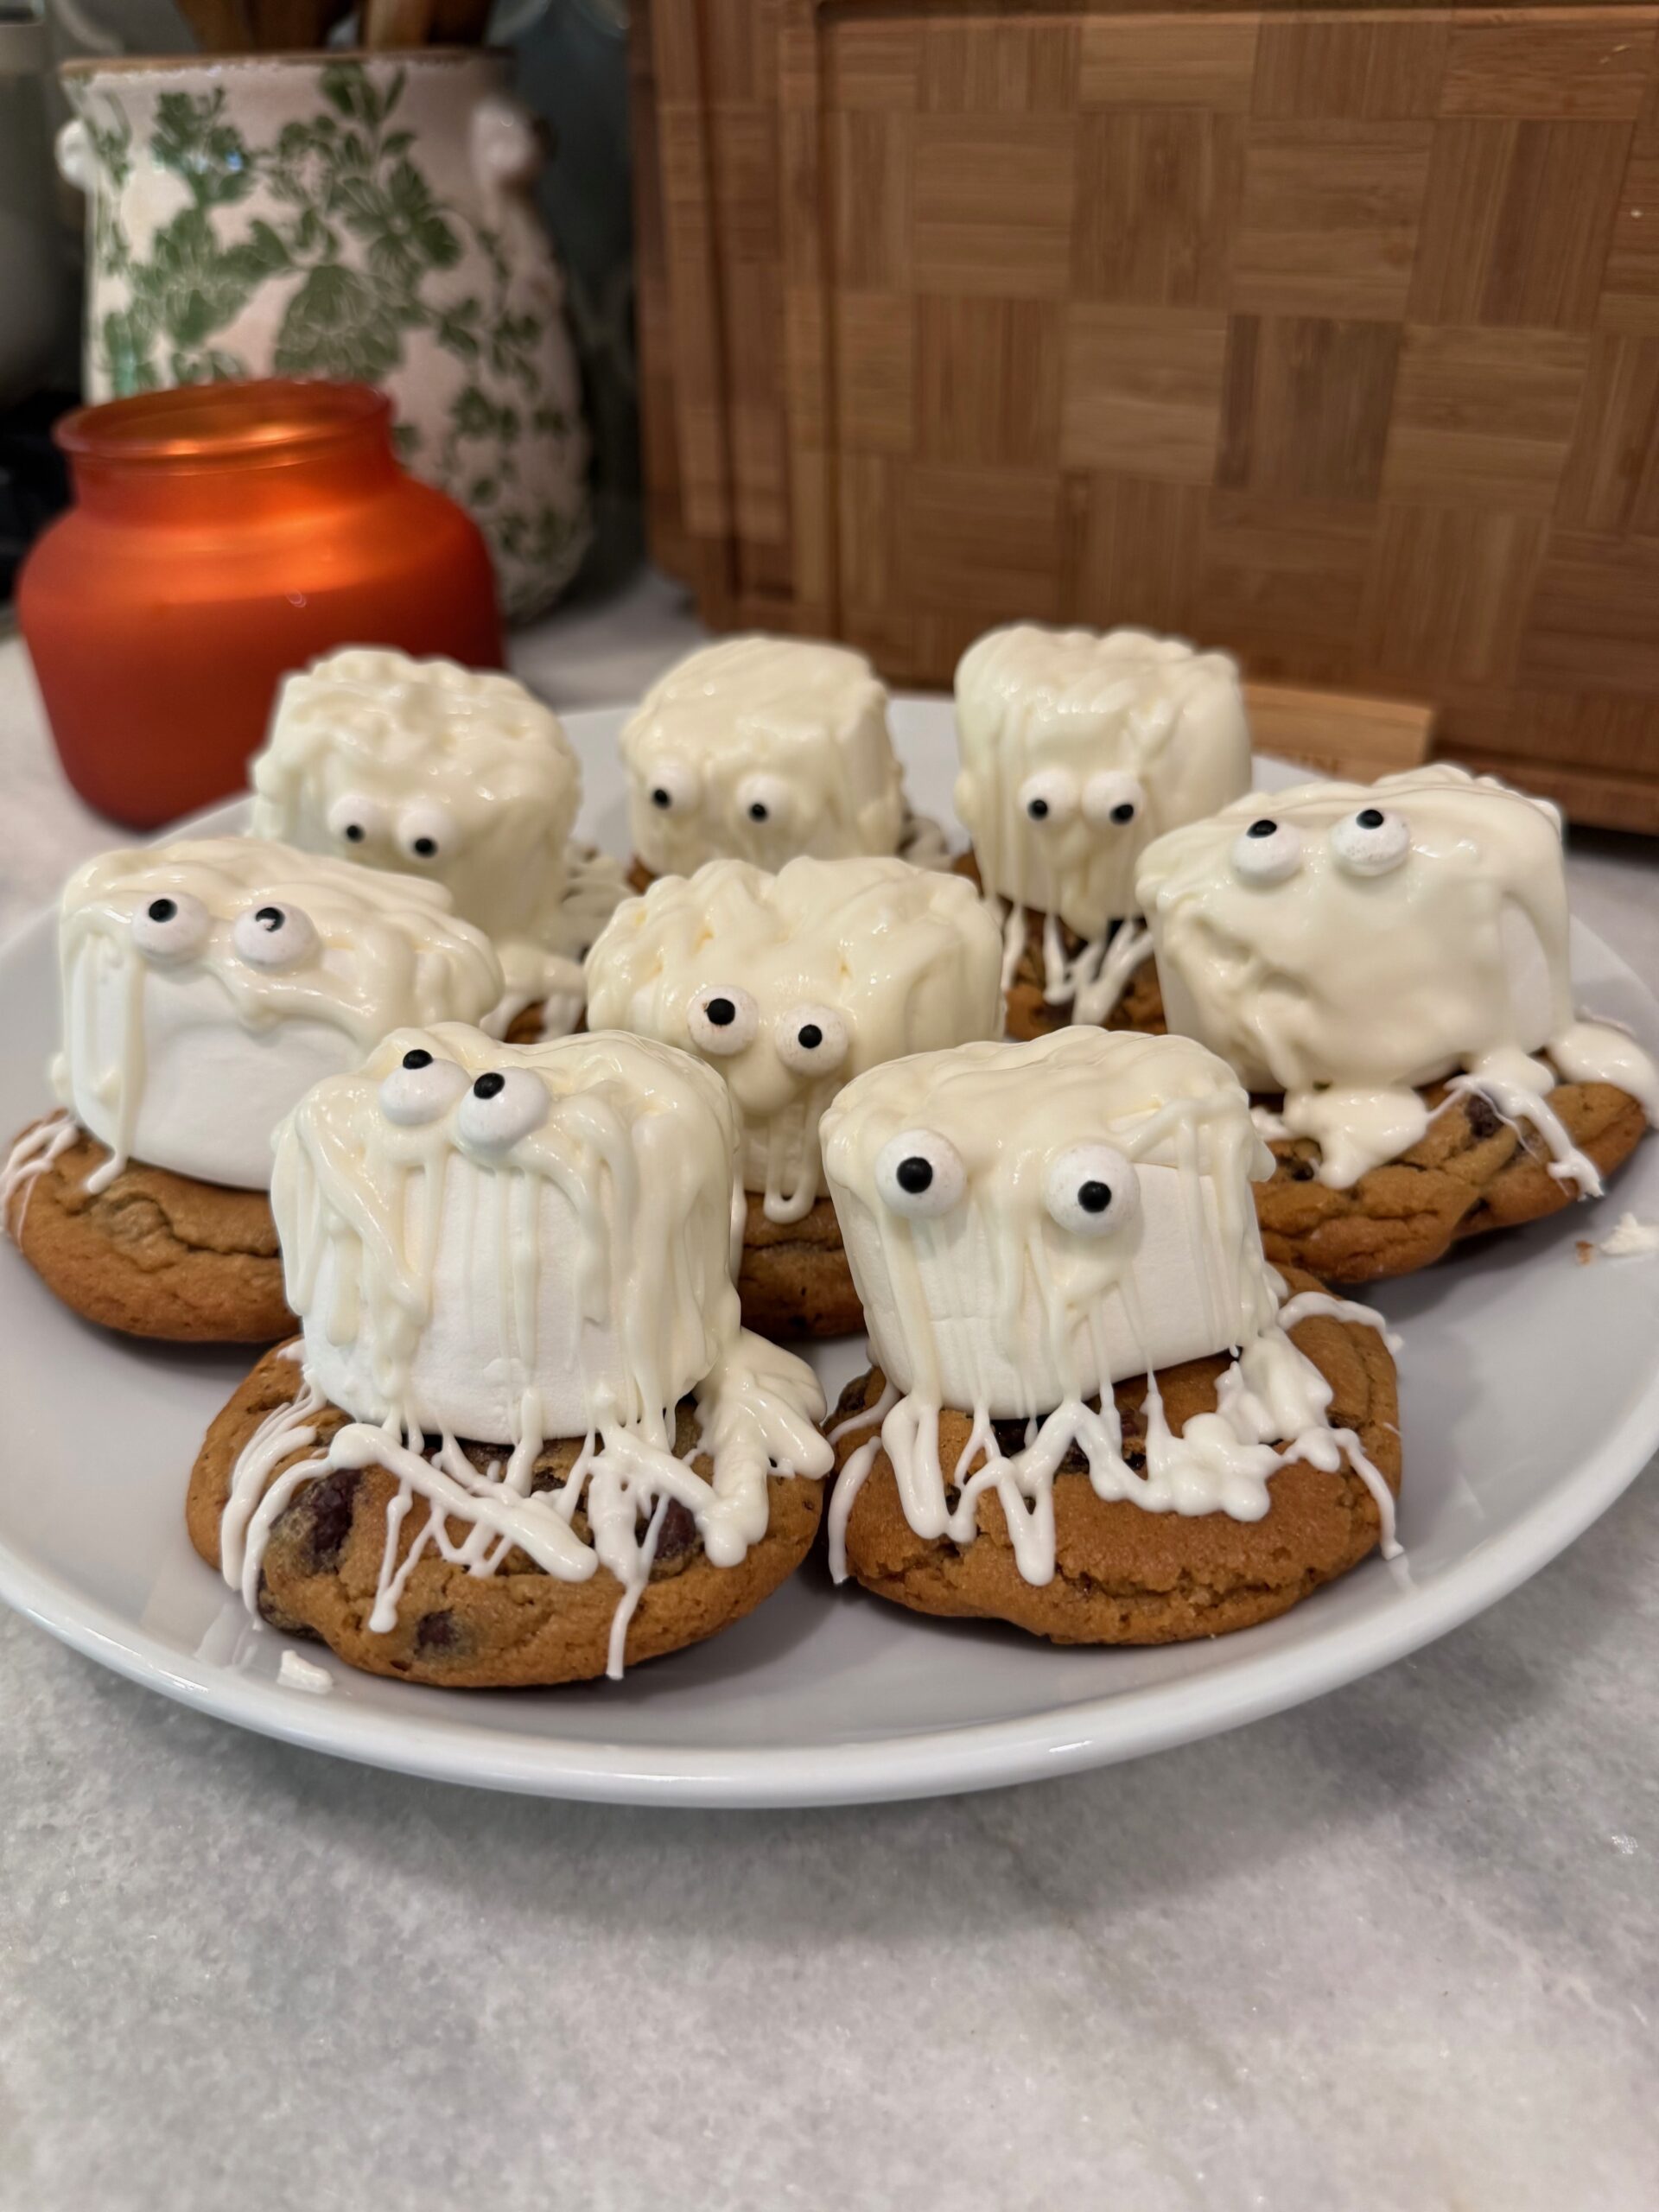
Halloween desserts do not get easier or cuter than these mummy chocolate chip cookies. You start with your favorite store-bought cookie dough, bake the cookies, let them cool, and then stack a jumbo marshmallow on top of each one. Then you drizzle melted white chocolate back and forth over the marshmallow until it looks like a little wrapped mummy and press the candy eyes in before it sets. That is it. My littles were obsessed with helping make these and even more obsessed with eating them. They look like you put in serious effort and the whole thing takes about 30 minutes.
Why You’ll Love This Recipe
- Store-bought cookie dough means the hardest part is already done. These come together in about 30 minutes from start to finish.
- Kids can help with every single step…. rolling the dough, placing the marshmallows, drizzling the chocolate, and pressing in the eyes. This is the Halloween activity and the treat in one.
- They look adorable on a Halloween dessert table and require almost zero baking skill to pull off.
- The jumbo marshmallow on top adds a soft, gooey layer between the cookie and the white chocolate that makes every bite genuinely delicious and not just cute.
Ingredients Needed To Make Mummy Chocolate Chip Cookies
The Cookie Base
Store-bought chocolate chip cookie dough is the shortcut that makes this a genuinely quick Halloween treat. Toll House is specifically recommended for its consistent result and wide availability. Roll into balls and bake according to package directions.
Can I use homemade cookie dough instead of store-bought?
Yes. Any chocolate chip cookie recipe you love works as the base. Bake them slightly thicker than normal so the marshmallow has a sturdy flat surface to sit on. The decorating process is completely the same.
The Mummy Topping
Jumbo marshmallows sit on top of each cooled cookie and become the mummy body. One per cookie is all you need. White chocolate chips or almond bark melted smooth create the drizzled wrapping effect. Almond bark is slightly easier to work with since it melts more smoothly and sets faster. Candy eye sprinkles pressed in while the chocolate is still slightly tacky are the finishing detail that makes these look like actual mummies.
How to Make Mummy Chocolate Chip Cookies
Step 1: Bake the Cookies
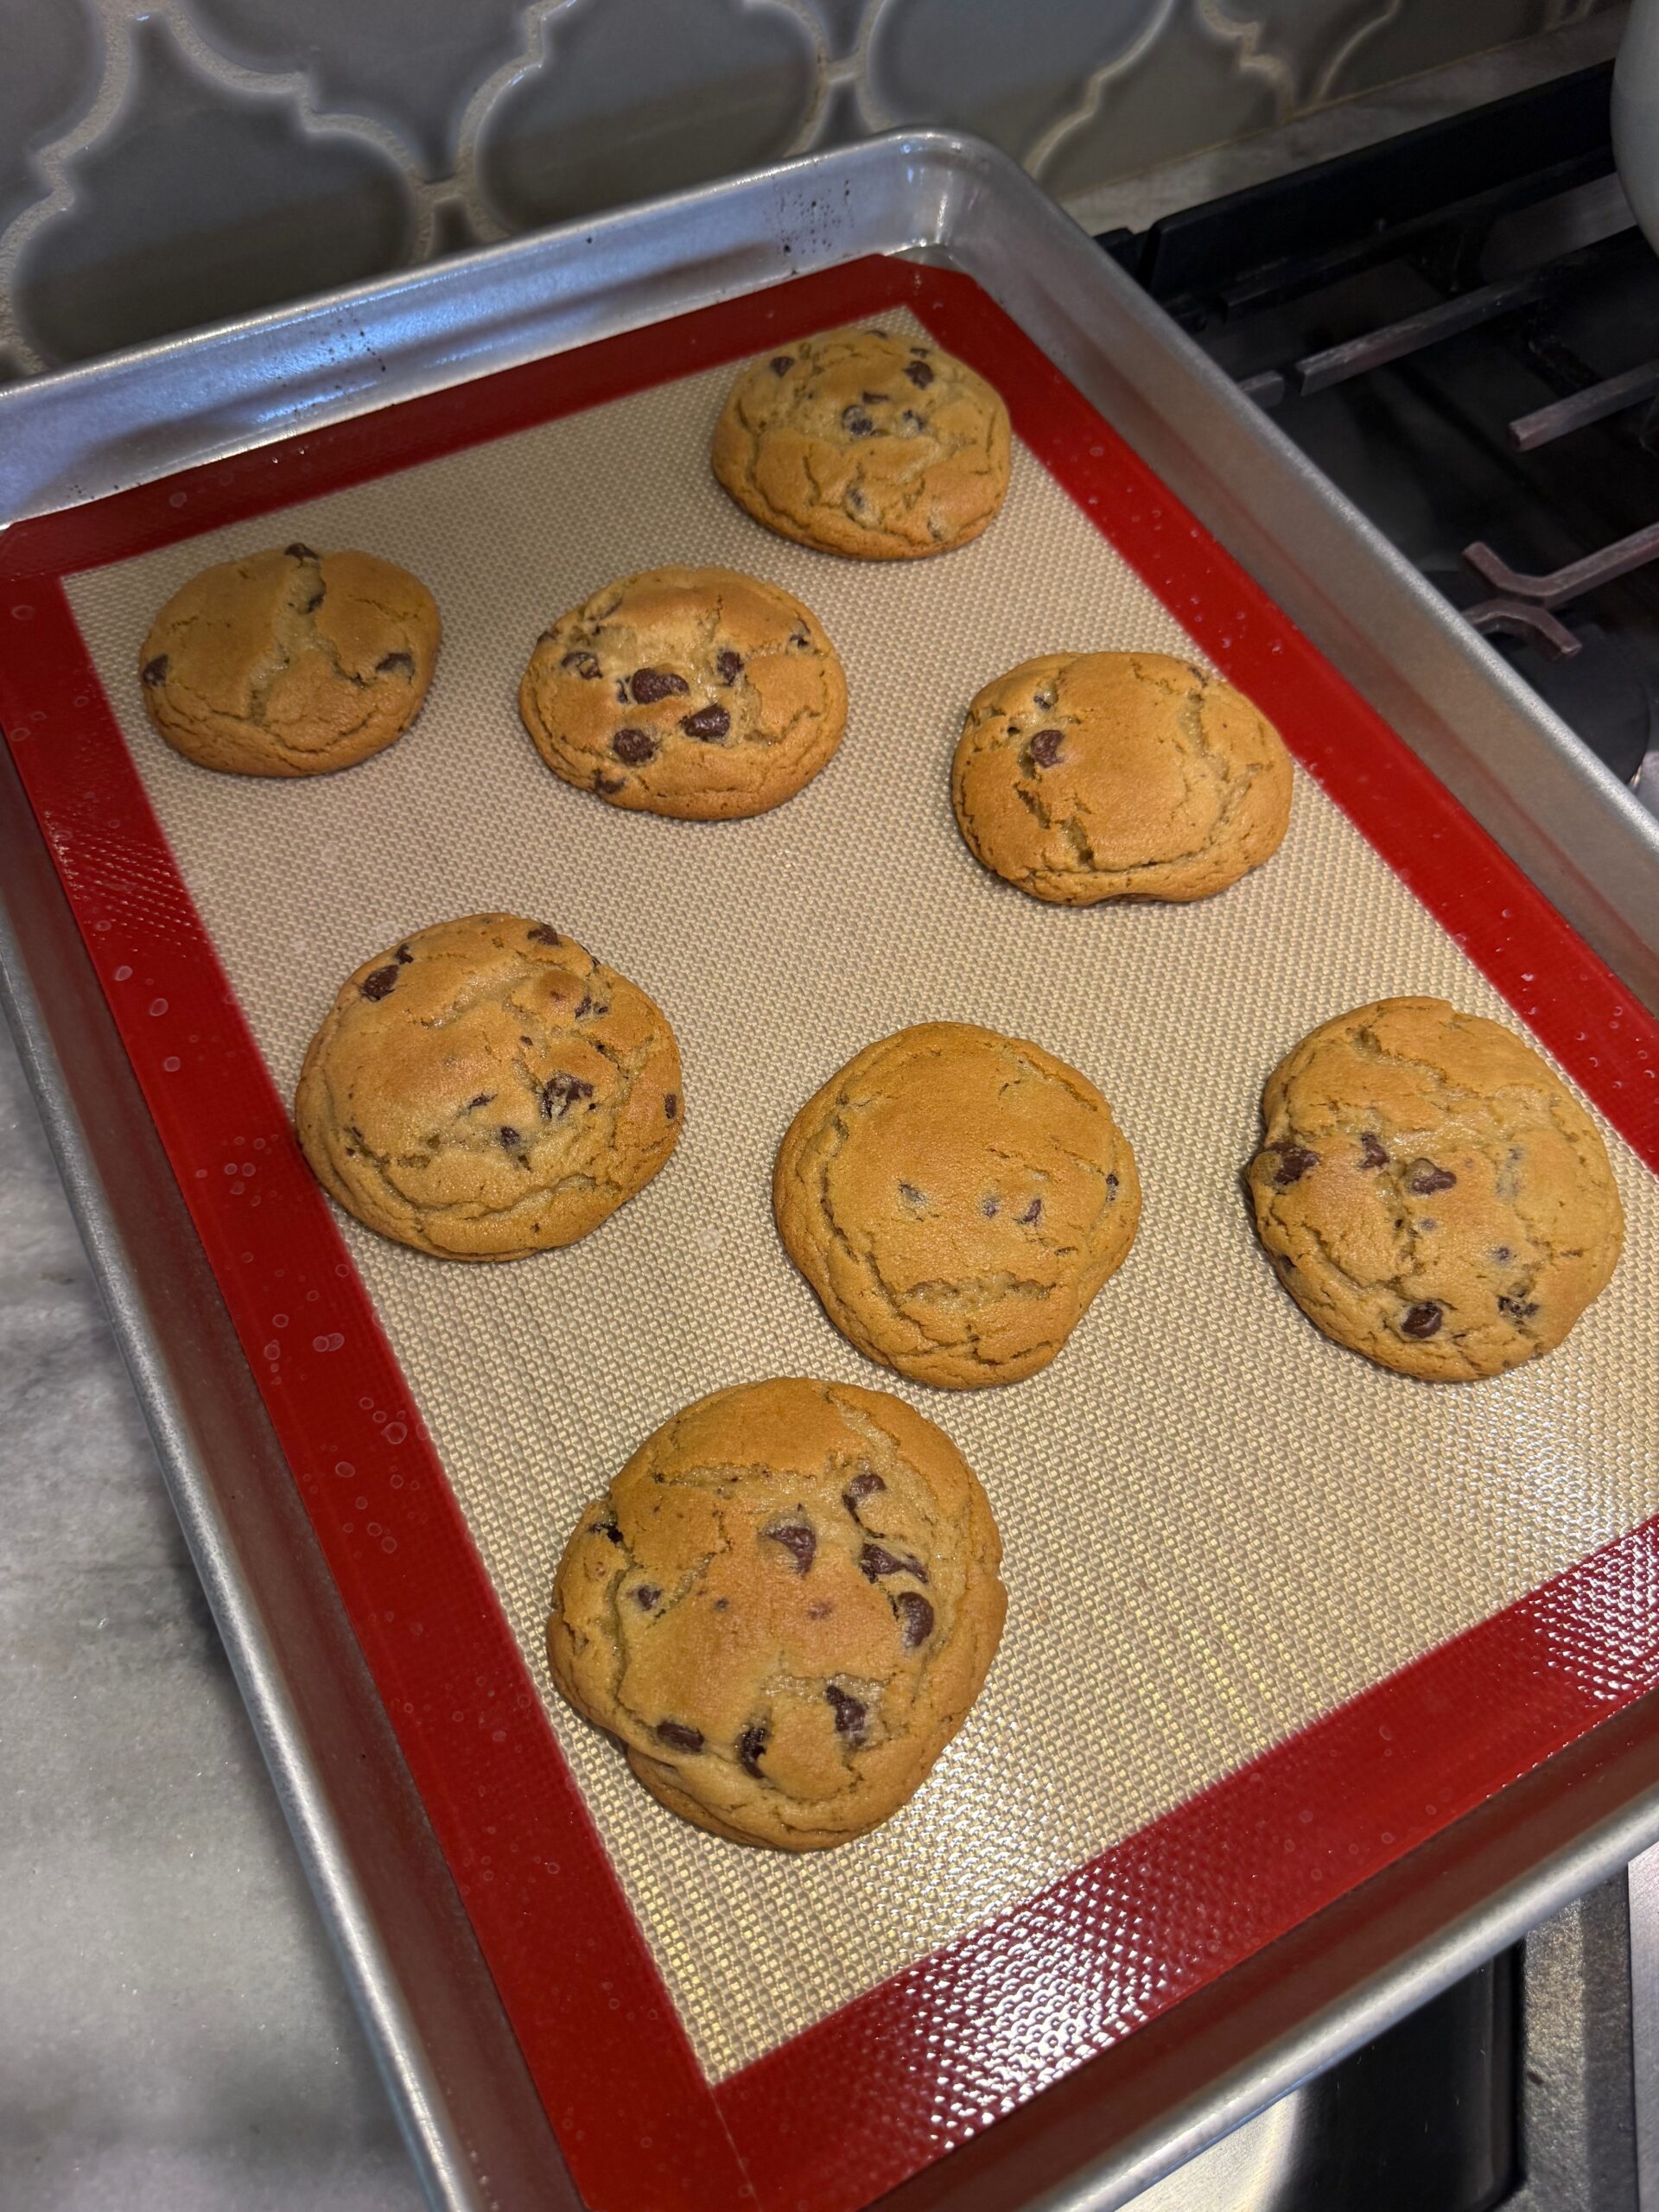
Roll the cookie dough into balls about 1 inch in diameter. Bake according to the package directions. Let cool completely before decorating.
Why do the cookies need to cool completely before decorating?
A warm cookie softens the marshmallow from below and causes it to slide off rather than sitting stably on top. Completely cooled cookies give the marshmallow a firm, flat surface to sit on which makes the drizzling step significantly easier and the finished cookies much more stable.
Step 2: Add the Marshmallow
Place one jumbo marshmallow in the center of each completely cooled cookie. Press down gently so it sits flat and stable.
Step 3: Melt the White Chocolate
Melt the white chocolate chips or almond bark according to the package directions. Stir until completely smooth. Transfer to a piping bag or a zip-top bag with the corner snipped for easier drizzling.
Step 4: Create the Mummy Wrapping
Drizzle the melted white chocolate back and forth over each marshmallow in different directions to create a layered wrapped mummy look. Cover most of the marshmallow but leave a small spot near the top clear for the eyes.
Step 5: Add the Eyes and Set
While the white chocolate is still slightly tacky press two candy eyes into the marshmallow. Let the chocolate set completely before serving or storing.
Storing
Store in a single layer in a sealed airtight container at room temperature for up to 2 days. The white chocolate holds up well and the marshmallow stays soft. Do not refrigerate — the cold air can make the white chocolate sweat and become sticky.
How to Serve Mummy Chocolate Chip Cookies
Arrange on a Halloween dessert tray with other treats for a spooky spread. These look great standing up or laid flat.
Mummy Chocolate Chip Cookies
Ingredients
Method
- Roll the cookie dough into large balls about 1 inch in diameter. Bake according to package directions.
- Let the cookies cool completely before decorating.
- Place one jumbo marshmallow in the center of each cooled cookie.
- Melt the white chocolate or almond bark according to package directions.
- Drizzle the melted white chocolate back and forth over each marshmallow in different directions to create a wrapped mummy look.
- While the chocolate is still slightly wet press the candy eyes into place on the marshmallow.
- Let the chocolate set completely before serving.
Notes
Add the candy eyes while the white chocolate is still slightly tacky — not fully set. If you wait too long the eyes won’t stick and will slide off.
Almond bark melts more smoothly and sets faster than white chocolate chips which makes it easier to work with for drizzling. Either works though.
These are best made the day you plan to serve them but they hold up well at room temperature for up to 2 days in a sealed container.